Dragon Wars/Walkthrough
<< back to Dragon Wars
Same as the whole article about this game, this walkthrough was written by H.T.W
Purgatory: Hire Ulrik and do the first steps[edit | edit source]
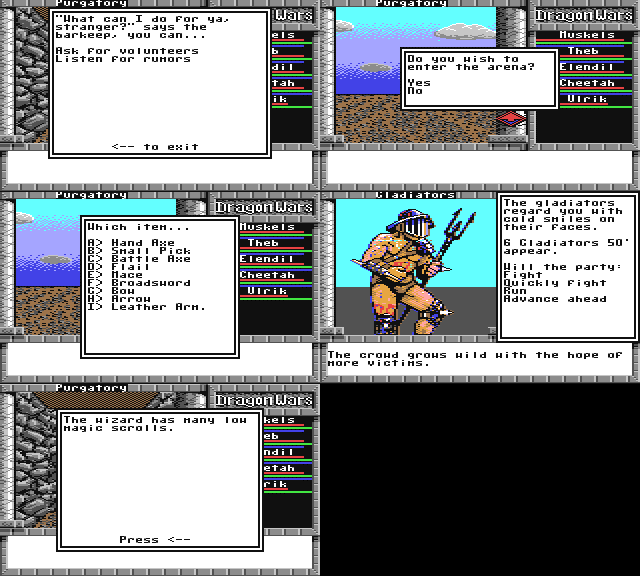
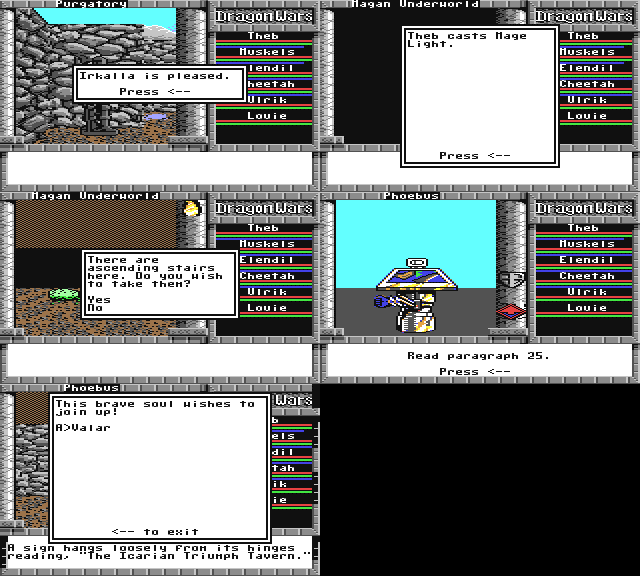
As the first action in Purgatory you should add Ulrik to your party. For this you need to visit the tavern (4). Then you can provide yourself with the basic equipment in the arena (7). Before you enter it, you lay down all weapons and armour (Ulrik has already some) and throw it away. Only now is it possible to get the maximum of 15 pieces of equipment offered when entering. If you have not thrown the things away before entering, their number is subtracted from 15. So you take 15 Battle Axes, go in to the middle of the arena until 6 gladiators appear and then run away. In this action, nothing happens to the party, except for that their money (that they don't have at that point) will be taken away. After that you go to the Back Market (6) (which works as weapon shop) and sell the 15 Battle Axes for altogether 525 gold. From this you buy 2 Scale Armors from the armour selection. You repeat the game as often as it needs until every member of the party has its armour. As you have already two Scale Armors at the next visit to the arena, you will only get offered 13 items. At the end of the big "arena impairment" you get yourself 4 Broadswords and 6 Battle Axes, of which you sell 5.
After the party has now been equipped with the basics, you get a batch of scrolls in the Magic Shop. After that you should grant Ulrik as a first ability the Low Magic, which takes a bit of a time. For this he needs 3100 experience.
It is also very important to know that magic can be reloaded in Purgatory. In the southeastern corner there is a pool (1), which reloads the spell points. There you get the message: "you feel strangely energized".
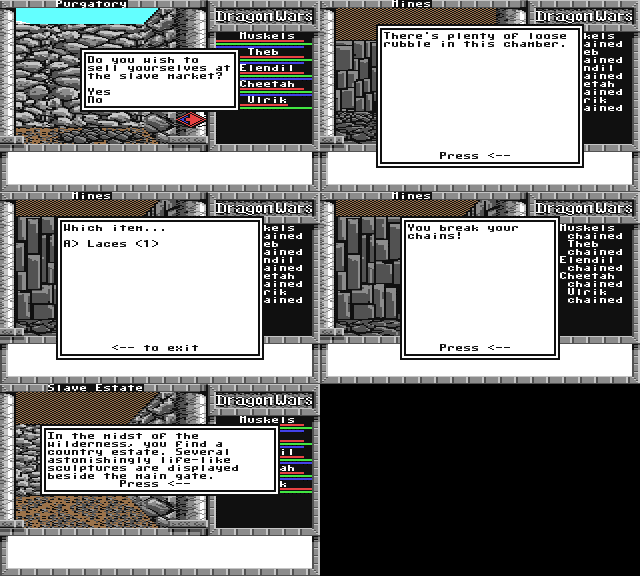
In the meantime it has become clear, that there are many ways to leave Purgatory. There are secret doors in the northwestern tower (11), in the inner wall in the east (12) and in the southwestern corner of the outer wall (14) there is a secret hatch that leads into freedom. Through the "Apsu Waters" (10), in the west of the town, you get into the Magan Underworld. According to the words of the innkeeper, a possibility which is not to be recommended yet. If you decide for a visit all the same, you should do Irkalla, the mistress of this empire, the honour and sacrifice an arbitrary item. In the harbour one could jump (climb) through a gap in the wall (C) and then escape swimming or, let oneself get thrown over the wall (H) together with dead bodies in a sack (hide). Uncomfortable! As a further way there would be the possibility to let oneself get enslaved (5) and break out of a mine while being enchained.
Purgatory: A trip to the Slave Mines[edit | edit source]
For more gold than you will ever see in your life, you will be sold to a man with a bull neck named mog. With a slow vehicle the journey goes past his luxurious manor, underground into the salt works, the Slave Mines, which lie below the Slave Estate. This trip is not necessary, but offers an interesting intermediate adventure, which is simple if you know where the required items are. A lot of rooms invite you to search through, only a few monsters, mostly spiders, which can be disposed of with Mage Fire.
The situation of the group is far from optimal. Chained together you run through the aisles of the seemingly endlessly big Slave Mines. Until you notice, that this is a rather small map which repeats itself again and again. Every few steps you run into recently visited rooms. Despite the chains you can fight and cast spells, so do not fear the animals flying around. Also, posted guards do not harm the group at the start, they rather avoid that you can pass certain passages.
First you go from your cell (St) O, N, O, N, O, S to the big room (1) where there are stones (Rubbles). Take them with you and go northeast into the room (2). There you find the battered cup. After that you go west into the room with the spring (3) and fill the cup (use cup). Now N, W, N, and you find yourself in the quarters, to understand the whole situation you should read paragraph 60 now. In the northwestern corner you find a stertorous, dying man (4) who asks for water. You grant him this wish and give him the filled cup (use cup). Out of gratitude you get from him his completely scruffy boots with surprisingly solid laces made of leather. Together with the shaft of a brocken pick (Broken-Pick-Handle), which you find in the room (5) in S, O, S, O, and the already found parts (Rocks, Laces) you build yourself a hammer (use Laces). With this (use Crude Hammer) you free yourself from the chains. But as it is totally unapt for a weapon, you should search for your equipment as fast as possible.
Leave the quarters into the direction of south, take the next possibility to the east through the door. In the northeastern end of the room there is the garbage pit, in which lies your equipment - without the gold. Now you defeat the three scattered groups of guards and look especially at the position of the group who is a field further southwest of the staircase. Here hides a secret door in northeastern direction. In the room you also find a locked door which must be opened by a character with the ability Lockpick. The content makes a slave's heart beat faster: 1x War Axe, 1x Gauntlet, 1x Magic Sword, 1x Pierce Bolt, 9x Dragon Stone.
Now quick to the staircase directly around the corner. Before that just disable the last group of guards and with them the cruel slaveholder and then you find yourself in the "Slave Estate". You should also enter the guard building (2) directly at the opposite and take the Ruby Dagger with you.
With this you should end this trip for now. When wandering through Dilmun, back to Purgatory, you should not oversee the weapon hide-out behind a stone. After all it contains a chain armour (+7 AC, -3 AV !), 4x Dragon Stones, a few Low Magic spells and other useful things.
Purgatory: The cleanup[edit | edit source]
There are two more things to be done in Purgatory! But how do you reenter the town after the spectacular escape? In the outer wall of the southwestern tower there is a secret door (14), by which you can enter the outer ring. From there you can reach the northwestern tower and slip through the secret door (11) into the well-known Purgatory.
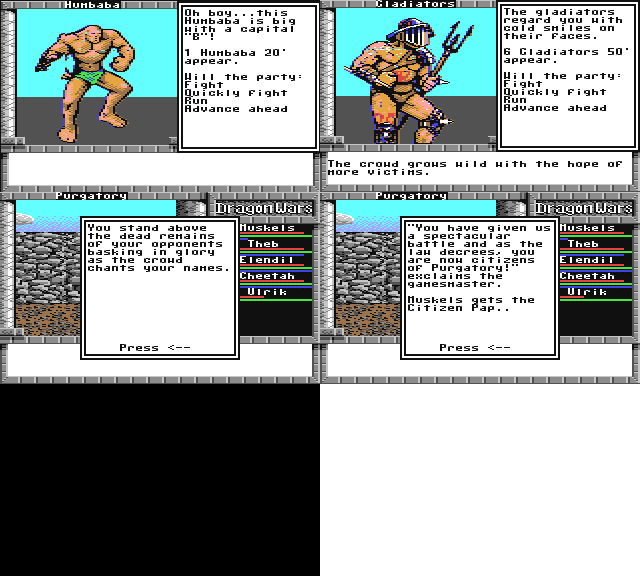
From the southwestern tower (9) you start a conversation with the King of Thieves, a certain Clopin Trouillefou. He tries to provoke, you should defend yourself against getting named a thief/tramp/beggar. To prove that this is not the case, Humbaba, the giant in the northeastern tower (2), must be defeated. As reward you can get 1.000 gold pieces. Humbaba is up to now the largest enemy, so you should already at distance cast "Mage Fire" on him and if necessary heal the members. About 80 health points later everything is over with a reward of 200 experience points.
If you have not done the - at the beginning mentioned - small arena trick, then you should at the latest now invest the 1.000 gold pieces from Clopin Trouillefou in better equipment. As a great concluding strength test you can now dare to go into the arena and fight against the gladiators. As a tactic you should choose the one already mentioned for the fight against Humbaba. For the victory you get the "Citizen Papers", which you need later on, but which you also get in the Slave Camp. Now the party is strong enough to leave Purgatory. Let's go to the southwest to Slave Camp.
Slave Camp[edit | edit source]
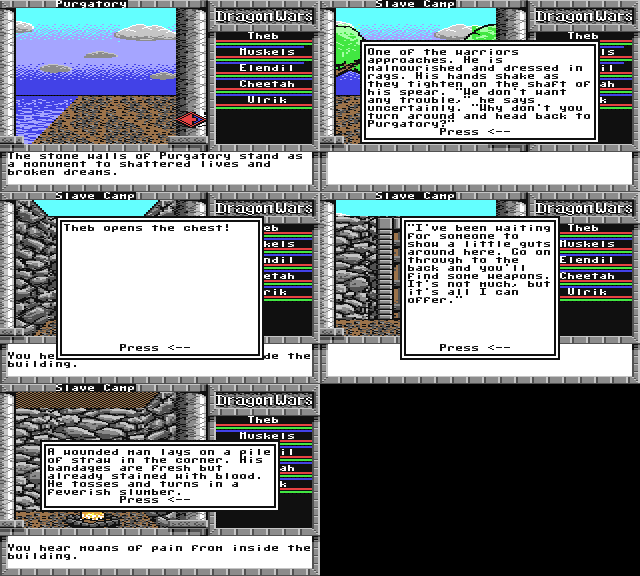
In the Slave Camp you right away meet a group of down-and-out fighters, by which you are mistakenly taken for mercenaries. To put things right you use the ability "Bureaucracy". In the following you are welcomed by the inhabitants of the Camp, all escaped foreigners.
In the northern, outer niche of the central building, you find a locked chest (open with "Lockpick"). This contains three important rolls with magic spells ("Healing", "Cloak Arcane" and "Sense Traps") for a High Magic user, as well as a chain mail for a fighter. The access to the building by the southern entrance is blocked until you have shown that you can use magic (use - skill - knowledge - magic). In the back room you find some useful weapons. Amongst others there is a second Ruby Dagger which raises the AV by three, but has only a damage span of 1d4. If you have not dared to face the gladiators you also find here the Citizen Papers. There is also a War Flail with considerable damage of 1d12 without reducing the AV and a White Arrow, which gives a bonus of one to the AV and makes a bit more damage than a usual one. You find another chain mail, Dragon Stones and an improved version of the Low Magic spell "Mage Fire", the High Magic spell "Fire Light". All in all a real treasure. In the eastern section of the building you find an ill man. With any heal spell you can free him for a short time from his fever. After his death you get - quasi as an inheritance - the Sun Magic spell "Sun Stroke" and the Druid-Magic spell "Greater Healing".
In a house in the west you find out what has happened an who this Namtar is. A meal at the campfire north of the main building brings back all the physical and spiritual energy. You find Louie in the buildung south of the main building, he enlarges the party as a sixth member. As everything is done here now, you go back to Purgatory and enter it the same way you left it (you can also test the strength of the group by trying it through the main entrance (8), but save the game before trying). Here you should sell not needed weapons etc. on the Black Market, but you should keep one item, you will need it shortly.
A visit to Magan Underworld and Phoebus[edit | edit source]
It is time to complete the party. Valar is in Phoebus (Isle of Sun) and the way there is simplest through the Magan Underworld via the Mystic Wood. The entrance into the underworld is in Purgatory next to the Irkalla statue in the Apsu-Waters (10). The Irkalla statue is offered the one item kept to placate her. Now you go into the Apsu-Waters, you are asked if you want to go to the Underworld and then transported there. The following question whether you want to use the stairs to the top should be answered with no. To light the darkness a "Mage Light" spell is used (cast - low magic - misc - mage light).
At first you should make a detour to the Recharge-Pool (b). 1E, 8N (to the wall), 5W, 3N (you feel strangely energized). Here you can cast heal spells, Cloak Arcane (partially invisible), and also Sense Traps without using up spell points as they are regenderated right away.
Now from the Pool to 3S, 3E, 5S, E until you find yourself at the stairs to Mystic Wood (3). Now up to the Mystic Wood and then leave it in the nothern direction. Go along the coast in the direction northeast to the entrance of the town. There you are already expected by goblins, which are quite upset about the fact that their brothers have been passed over by using the underworld. Ironically these goblins do not regenerate, whereas their brothers do... Be that as it may, this group of goblins must be defeated before you can enter Phoebus, with magic this is done quickly.
In Phoebus you are greeted by an utmost bizarre machine, which is of no more interest. You go further north and then at the third crossing you got 6E, then 5N. Behind the righthand door there is the Icarian Triumph Tavern (1). You enter it and Valar joins the party, which has now reached its maximum with 7 persons.
(THE VERSION BY "LEGEND" IS STARTING TO GET UNSTABLE FROM NOW ON AND CAN CRASH DURING THE NEXT FIGHT!!!)
But as Valar has no armour you should go west into the next house (2) and open the treasure chest there (Lockpick level2). But save the game before that, as rats and wolves block the way. With this equipment you can survive relatively safe the first explorations in the overworld, but also in the underworld there are still two currently interesting things. So back to Mystic Wood and to the spring (1) and down into the Magan Underworld (use - skill - ability - climb). Press the light switch (Mage Light) and back to the starting point below Purgatory.
Now you get yourself 5 skill points for each member of the party. First go 1E, N to the wall, 3E, 1N, E to the next wall, N to the entrance. When entering you are received with "worshippers of Irkalla are welcome in her realm" (without placating Irkalla the door would have stayed closed). Now 2E and 2N, although this place (a) looks as if it cannot be entered, and you are awarded a bonus of 5 skill points. With this, one of the spell caster of the party can be trained in Druid Magic, which you will need later. Back again to Purgatory you get the needed spells and train Louie and Ulrik in High Magic, so that it is not always the same party members who use their spell points for low-end spells as "Mage Light" or heal spells.
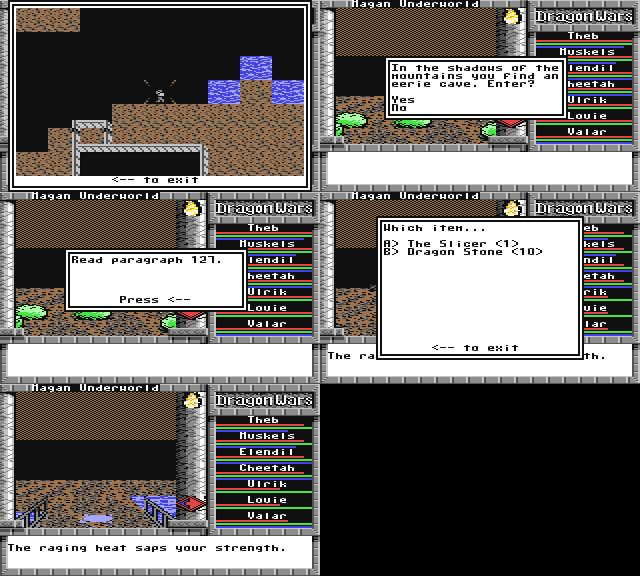
Then once again down into the underworld, as now you will uncover an important treasure. From the bridge below Purgatory you go 1W, then south until you can go into a cave (e) (Eerie Cave). Go inside, you get a paragraph to read in which you get to know several things about Namtar and some upcoming puzzles. Go on with 2S, 1W, 2S, find treasure chest (c). You need "Lockpick" (level 3 ?) to open it.
Here you find the legendary sword "Slicer" which gets you a considerable bonus on AV and DV. If you hand the sword to a member of the party that has the "Magic Plate" you have sort of a "Superstar" in your group, who can change the course, even if all others are already in a sorry state. 2N, 1E, to leave the fire area again, direction of north back to the bridge below Purgatory and heal the party.
Tars Ruins Underground and Tars Ruins (Ancient Ruins)[edit | edit source]
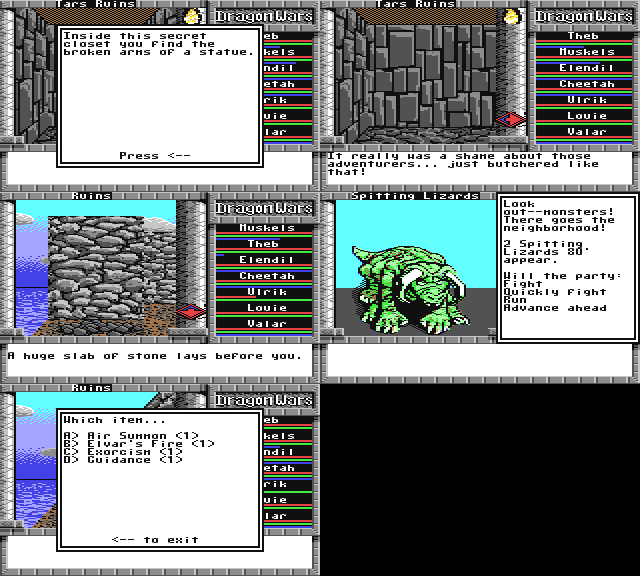
Form the bridge 5E (around the lake) there are the stairs to Tars Ruins Underground. After entering, Valar should cast "Guidance" (cast - sun magic - misc - guidance), as here are some "rotating fields" and one can easily lose track without a directional sign. Furthermore, you also need light. (You get back to Magan Underworld at this point with "climb"). This is a relatively small dungeon, but not easy to solve. The chamber seems closed, but in the north there is a secret door. Pay heed to "your footsteps sound hollow here". 1W, 1S there is the next secret door, behind which there is something strange: "the broken arms of a statue". The "Stone Arms", which you need for another puzzle.
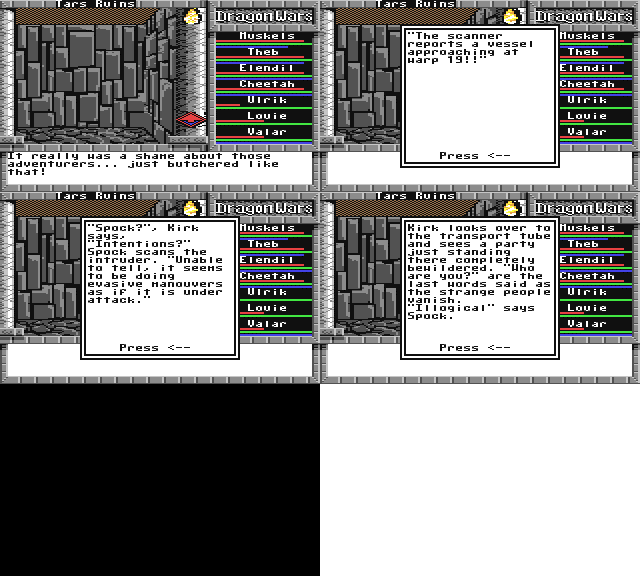
N, 3E, N from the steps upwards (2E from where you arrived) there is a secret door in the western direction. Behind that you find an elixir and some Dragon Stones. But the big fight takes place two rooms further to the north (1) against 5 adventurers and the wizard. Behind them there are also other dangerous "inhabitants" of the dungeon. (Here you find a gross gag of the programmers: If you defeat the group of adventurers you find the remains, "it really was a shame about those adventurers"(2). And, get ready for it: If you search these remains with your skills, (use - skill - lore - arcane lore) suddenly a scene with a dialogue between Kaptain Kirk and Mr. Spock (!!) follows, with them two watching a strange group of people (the party of the player) on the Enterprise screen and asking themselves what they might be. South of this room, there is a secret door again and behind that you find next to gold the spells for "Death Course", "Fire Light" and "Sun Stroke".
The next destination is Tars Ruins, a floor higher. As the party is made fully available again (maybe you can reload at the recharge pool in Purgatory), it is time to search everything here. The most important positions are in the eastern direction. There is a trap in the northeast, which gets activated if you are not coming from the underground, with a persistent Guardian Snake and behind that the remains of another adventurer (1), a "Large Shield" and a "Firesword". In the southwest you find scrolls (2) with "Air Summon", "Elvar's Fire", "Exorcism" and "Guidance". To get back to the underground in the Tars Ruins go to the place (northeastern corner) where you have entered the Tars Ruins ("a huge slab of stone lays before you") and use your strength (use - attribute - strength).
Slave Estate[edit | edit source]
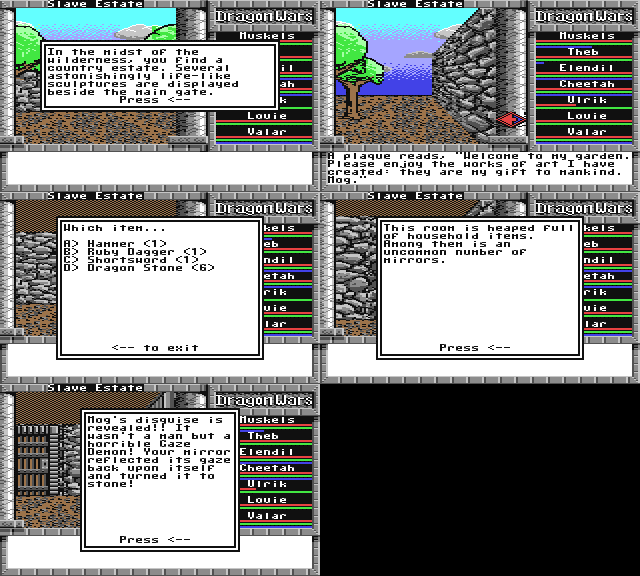
Now the Slave Estate, which is situated over the Slave Mines and which you have already visited, will be searched closely. The monsters here are relatively weak and one finds out a lot about the background of the formation of the stone statues and about Mog (an interesting story).
First you should visit the northeastern part, there are several things to be found. In the northeast (2) waits a Ruby Dagger fo a new owner. In room (4) you find some equipment ("Gauntlets", "Helm", "Magic Lamp", "Shield", "Arrow") in a locked chest under the creaky planks (use - attribute - strength). In direction of west there is a secret door behind which you find amongst others a mirror (1).
In the southwest there is a mean trap. Mog (3) (or better his demon) needs to be defeated. This happens by looking into his direction one field in front of him (but you don't see him) and using the mirror (use - item - mirror). He then turns into a statue.
As far as it is known, you cannot go back down into the mines.
Isle of Sun: Miscellaneous[edit | edit source]
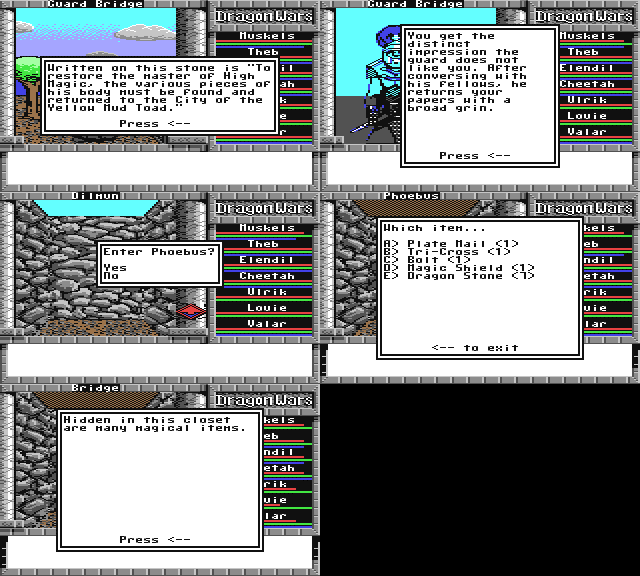
Now you are prepared to leave Forlorn, the first area you have explored and proceed to The Isle of Sun to uncover further secrets. You have already been here, but it was on the way through the underworld. You should reload your spell points in Purgatory beforehand and then go to the Guard Bridge. First you should find the weapon stock (1) east of the southern side. Put on shield and helmet (choose character with keys 1-7 - general overview - choose item - equip). You do have the Citizenship Papers, but the guards also want a usage fee (70 gold). If you do not want to pay it, prepare for a heavy fight. Note that this can cost a party member's life, so save the game before starting that. In this fight all combat spells can be used, you can reload the spell points in Slave Camp at any time.
After defeating (or paying) the guards, there can be another fight with 1-19 rats. With the spell "Elvar's Fire" they are easy to frighten. If you have a high enough level, the rats just run away. On the other side of the bridge there are 6 goblins in 30' distance. They can be disposed of with "Mage Fire" (of the first 4 party members) and then with normal weapons.
Now once again to Phoebus and search the town. First to the west, in the middle of the town there is a house with two rooms (3) of which one is guarded by five thieves. Here you find a chest with scrolls that is locked and for which you need several tries to open it. Give the spell "Poog's Vortrex" to the High Magic speller, the druid gets "Create Wall" (is needed in Mud Toad), and the Sun Magic party member gets "Mithras Bless". Now to the northwestern corner where some guards watch over a small room where some nice things can be found. The "Magic Shield" is a good defence shield which does not subtract anything from the AV. But you should take care that you do not put too many heavy things on a character, so better give a character "Plate" and "Magic Shield". Phoebus is relatively safe, as you are only stunned by the enemies, except for Metalvision (5) who is in the east in the middle, but you will visit him later.
As one has done everything on Isle of Sun at present, there is still the crossing of the bridge into the north, the Heavily Guarded Bridge. You may want to use Dragon Stones beforehand. The first fight starts, if you do not want to have your luggage searched or if you do not pay the fee. You cross the bridge and enter the building in the east... and are immediately thrown out again. So go inside once again and tidy up a lot. Now go through the southern door (heal the party beforehand) and fall into a pit trap, which gets you a few bruises. Finally go through the door in the west and dispose of the last guard, a rather heavy fight, but the reward for it is very impressive: The "Gem Helm" and the "Gauntlets" are a good enhancement of the armour. Ulrik should get the "Axe of Kalah" and Louie "Holy Mace". As there will be another fight at the way back to the exit, you should heal the party again and use Dragon Stones. Then in the fight use "Poog's Vortex" for the first row of attacking guards and "Death Scare" or "Sun Stroke" for the backmost rows of attackers.
In the building in front of the bridge, which you have not entered, you would find "Ice Chill", "Disarm Trap", "Radiance" and "Runed Flail", but first of all this building is guarded extremely and secondly these spells are not necessary to win the game. At this point it is not advisable to try to face the defenders of this building.
Lansk: A kind of unnecessary visit[edit | edit source]
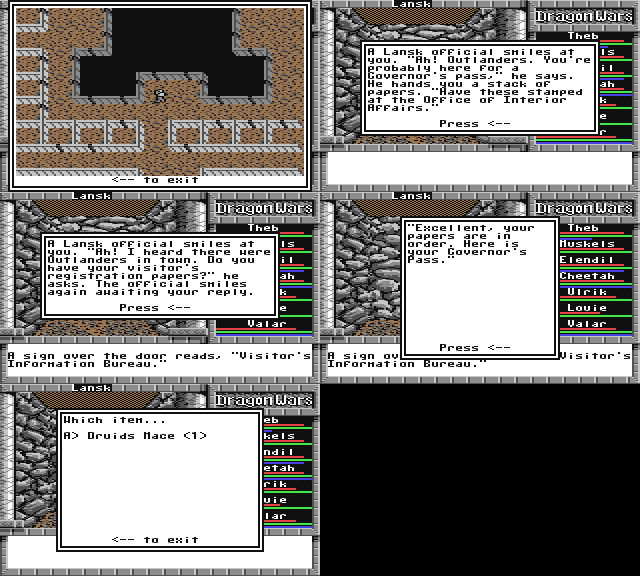
The only thing that can be found in Lansk is a treasure chest in the inner part, which contains a "Druids Mace". It makes only one AV and AC more than the "Holy Mace" that you already own. Also, the fights are annoying: A "Civil Servant" appears in the distance of 150', mocks you until you have approached to 10', then he calls for help. And all that for only 1 experience point...
Lansk consists of an outer and an inner ring. Below that there is Lansk Undercity, which is only accessible from the Magan Underworld. To "solve" Lansk you first have to see the Governor (1), who gives you papers. Then you must continue to the Department of Lubrication (2) where these papers are stamped (use - item - papers). Finally you may also go to the Visitor's Information Bureau (3) with the stamped papers and show them there (use - item - papers), and then finally you will get the Governor's Pass, which allows you to cross the bridge in the west (War Bridge).
It is just that you don't need the Governor's Pass, it is much more comfortable and faster to use the Transport Nexus in Mystic Wood...
Mystic Wood, Salvation, Mystalvision and Phoeban Dungeon[edit | edit source]
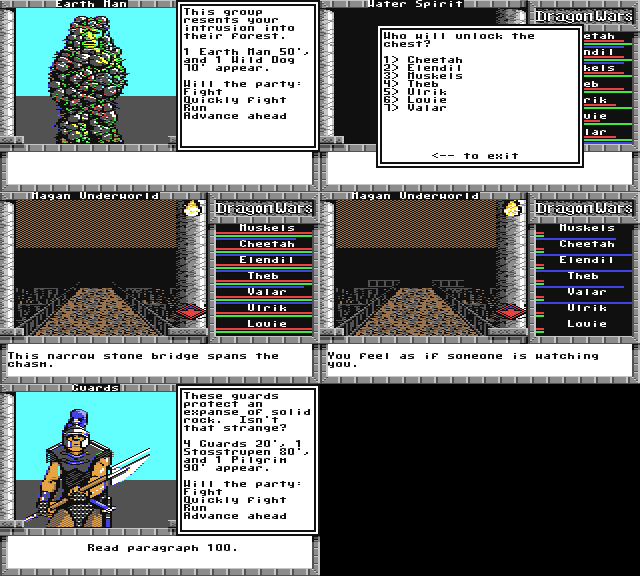
So back to Mystic Woodwhereby you meet 3 pikemen again on the bridge. First you should find the mushrooms (2), as you will need them later (1S, 5W if you enter the wood from direction of north). There is no danger of losing a party member but there are enough spell casters and monsters that stun you and this way cause harm.
At the west coast awaits you a hard fight against 3 water phantoms (3) (maybe regenerate before that in the underworld), which gets you "Plate Mail", "Gauntlet" and "Great Bow". A bit further to the south there are the Druid Spells: "Death Course", "Fire Blast", "Insect Plague" and "Scare".
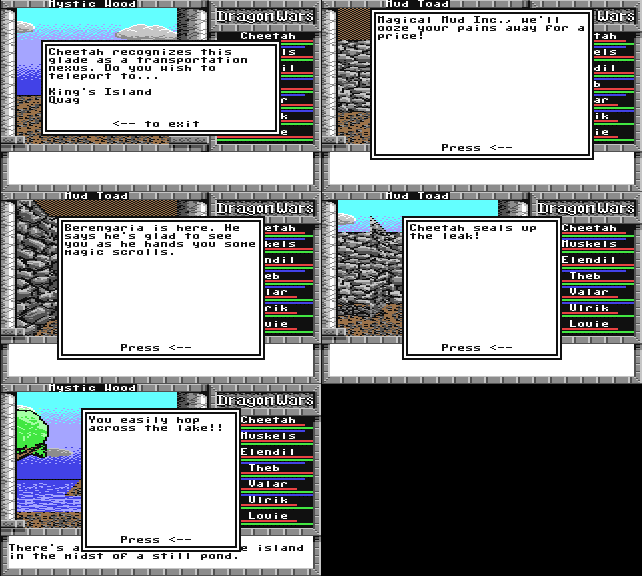
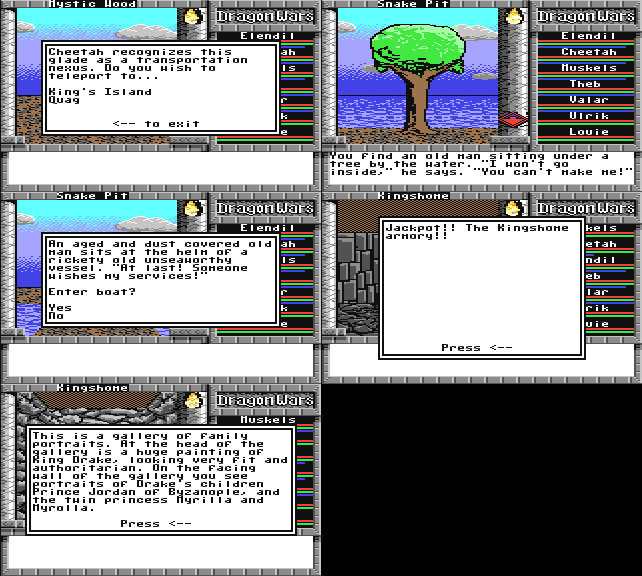
An interesting way of transportation, which hides in the Mystic Wood is the Transportation Nexus (5). By this you get directly to the opposite station to "Quag" (with this you avoid the "Heavily Guarded Bridge" and the "War Bridge") or to "Kings Island" (selectable) and back.
Another trip through the Magan Underworld (before you dare to do it, you should at least have Sun Magic level 3, better 4-5, good armour and good weapons.) Before that you can empty your pockets in Purgatory. About anything that is no use for armour, cannot be used for a spell or is no strong offensive weapon can be sold. Soon you will get better armour.
In the Magan Underworld you go from the "Apsu Waters" (1) below Purgatory seven steps into the east, then to the south until you see a small narrow bridge. When crossing it the party will get life energy extracted by fairy-like creatures, which can be regenerated with heal spells. Now over the steps (6) up to Salvation. 3N, 2W, save the score, as now there will be a fight (1) (to north) which is crucial and hard to win. After you have defeated the "raiding patrol" and the other defenders (number of defenders and their strength can vary, the pilgrims run away), you can find behind them a really good armour ("Dragon Plate", "Dragon Helm"), 30 "Dragon Eyes" with each regenerating 40 spell points (leave half of them behind and of the ones taken with you keep about 8 for the "Kings-Isle adventures") and "Spiked Mace".
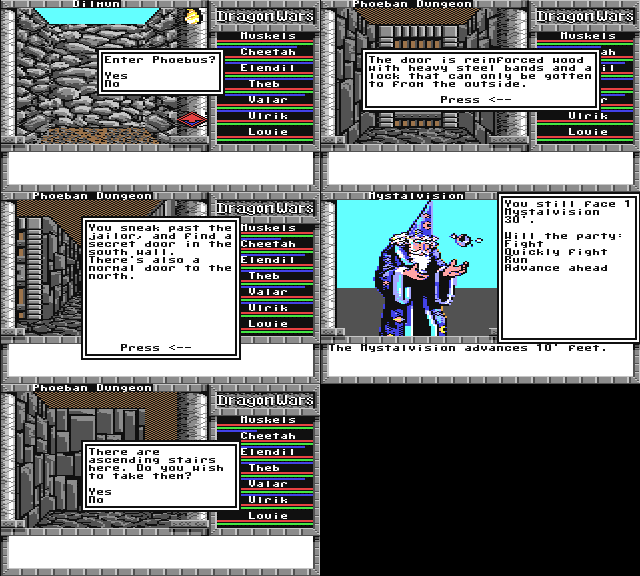
After healing, spell point regeneration and putting on the new parts of armour, you go back to the Magan Underworld, up into the Mystic Wood (3) and in the overworld to Phoebus. There head always north into the Temple of the Sun (5), where there is Mystalvision who promptly gets you thrown into the Phoeban Dungeon (no resistance possible).
You are then locked into the cell (St) for 10 days (1 day = 10x activity) until a certain "Berengaria" opens the door and announces a meeting in the "Icarian Triumph Tavern". Finally freed from the cell you go west, north (1) (until paragraph 102), and sneak (use - skill - ability - hiding) to the west passing the guards' room. For this time ignore the secret door in the south and turn to north and then west. This sector of the dungeon should be searched now. In the northwestern part you find in the corner of the room amongst other a shovel (2) and next to it a door (3) that needs a password. It opens with "halifax". Behind it (4) you find "Blow Horn", "Magic Ring" and "Magic Quiver".
It is time for the fight against Mystalvision. He is in the chamber in the middle in the top north (5). First the "Old Jailors" are in for it and then Mystalvision. But the rogue just disappears and leaves some scrolls behind.
Now the same way back to the secret door (6) in the direction of south (after the guards' room) and through. Always follow the passage until the "Cave in" (7) blocks the way. Here you either get through by using the shovel (which you have already found at (2)) or with "climb". Continue until you reach the stairs in the north west and go up. You then find yourself in Phoebus again. Now back to the tavern (1) where you should meet with Berengaria. But he is already on his way to Mud Toad. So this town is the next destination.
One could also go in the Phoeban Dungeons to the northeast to the circuit passing the dragon and then avoid that the dragon is fed with a prisoner (8). But after that Phoebus would explode and disappear from the map. Somehow there would be something missing...
Quag and Mud Toad (the mud hole)[edit | edit source]
Go once again to the Mystic Wood (reload spell points before, if necessary) and take the Transportation Nexus this time to Quag (the Nexus from Quag allows only transport to the Mystic Wood). In Quag there are some so-called "Murk Trees", which you cannot see preliminarily, but are rather dangerous. Therefore you should keep to the following route: 2S, 2E, 4S, (save, as you cannot avoid the last one), E (fight, then heal).
You enter Mud Toad and go towards the eastern wall. You pass a healer on the way to the Souvenir Shop (1), which you enter and buy an Ankh (is needed later for the dragon on Lansk Undercity). In the northeast you find loose stones (2) and climb up the wall (use - skill - ability - climb). Now save, as it gets difficult again. Along the wall and to the southwestern corner of the aisle, there you meet 2 groups with 3 and 8 opponents. Behind them you find a weapons stash (3), which also contains "Lucky Boots", "Reveal Glamour" and "Air Summon".
Now you can go into the tarvern to Berengaria (4), who gives you the following scrolls: "Rage of Mithras", "Holy Aim", "Major Heal" and "Summon Salamander". You have already "Armor of Light". From the innkeeper you get a nice hint about the whereabouts of Lanac'toors Statue (5), which you now visit. You only find the base but in the further course of the game you will put it together. Currently, you only have the "Stone Arms" which you can add (use - item - stone arms), there are still the body, the head and the hands missing.
Here is something important to be done: There is a constantly sputtering mud hole, which you need to close. For this, place yourself in front of the niche of the mud hole (6) with viewing direction of west and use the spell "Create Wall" (cast - druid magic - misc - create wall). If you now visit the priests in the northeastern corner, they give you the "Golden Boots", which are essential to end the game and is also required for the other quests (a field can be jumped at certain places with them).
In Mud Toad everything is done at present, therefore you can return to Mystic Wood with the help of the Transportation Nexus and test the Golden Boots there. 4E away from Nexus, there is a lake in whose middle you see an island. Use the Golden Boots here (use - item - golden boots) and then you are already on this island. Here you find a shrine (6) on which you have to use a weapon to open it and whose contents is the "Enkidu Totem" (is needed to cross the Scorpion Brigde more easily). Now it is time to regenerate the party in the underworld and maybe also at the campfire in Slave Camp or at the spring southeast behind the Slave Camp. The next station is Necropolis, therefore you return to Quad using the Nexus.
Smugglers Cove and Necropolis[edit | edit source]
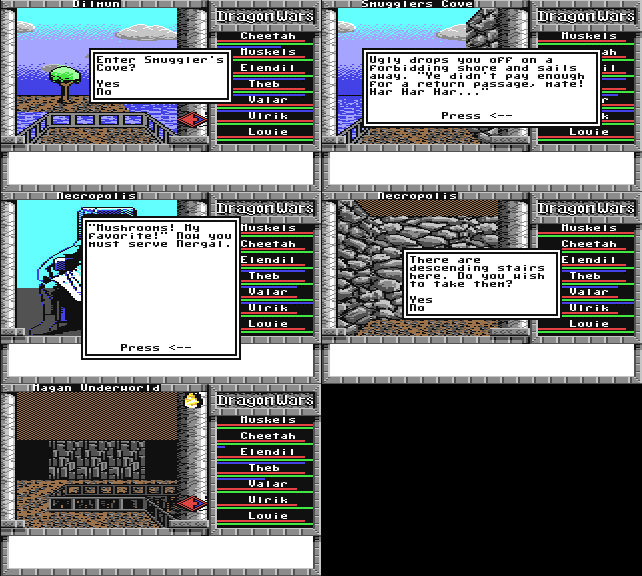
From the location of the Naxus in Quag you go 2S, 2E and save the score, as a field further east there will be a fight against a Murk Tree that blocks the way to the Smugglers Cove. Then you go to the entrance in the east. In front of the door you use "Bureaucracy" and then offer 50 gold. After a conversation with Ugly you go through the door in the south and sail with him and his crew to Necropolis where you are dropped off. (You also could have left the room through the door , but you very probably would not survive the fight that would follow against the smugglers at that point of time. But postponed is not abandoned, Ugly will also be in for it later).
The entrance to Necropolis is located west of the starting point. In the middle of the room you find a treasure chest (1) behind a guard, which contains the following: "Stone Trunk" (for the statue in Mud Toad), "Black Helm" (+3 AC), "Magic Chain", "Dead Bolt". After leaving the room through the second door (and a successful fight with the second guard) you go along the wall to the east, then south, and last west to the wall. There is a secret door (2) in the northern direction. Enemy formations are random, therefore you should run away until the formation with 2 ghouls appears, it is easiest to master.
Behind the secret door (2) waits a Stone Demon (3), who fights against the party until you have reached him, so walk towards him as fast as possible (with "Advance Ahead") until he disappears. Then go always along the aisle until you stand one step in front of Nargal (4). Now heal the party and bring the spell points to a maximum. Also make sure, that every member of the party owns a "Dragons Eye" and save, because now follows a hard fight: defeat the wraith with "Death Course" and "Mage Fire", hit the goblins twice with "Poog's Vortex" and use "Sun Stroke" with the ghouls. Before the skeletons are in attack distance, all other enemies must be destroyed. Then cast "Mage Fire" with "Death Course", "Sun Stroke" on them.
After the fight, give Nargal the "Mushrooms" (use - item - mushrooms) from the Magic Wood. As trade-off you get an important item, a good weapon and very good spells: "Silver Key" (is needed to to free Irkalla on the Isle of Woe), "Holy Spear", Fire Lite (High Magic), "Insect Plague" (Druid Magic), "Scare" (Druid Magic, already there), "Inferno" (Sun Magic, very strong fight spell against multiple groups), "Big Chill" (High Magic, same strength). The mushrooms can be disposed of, they are not needed any more.
You leave the island by going back the aisle. Then through the secret door and into the east as far as the wall, further to the north as far as the door into the east. Behind it, you need to fight through 9 fields, of which each is occupied with a giant spider (can be done without magic). Then you can use a transmitter (5) which brings the party to a random location in Dilmun.
In the Underworld of Necropolis dead characters can be revived. (Although it can be seen in the Magan Underworld, it cannot be entered from there). For this you go down the stairs (6) in Necropolis and follow the aisle to the spring (f). There you need "Arcane Lore" (use - skill - lore - arcane lore). Then the previously dead character is "stunned" and needs to be awakened with a heal spell.
Irkallas rescue and Lansk Undercity[edit | edit source]
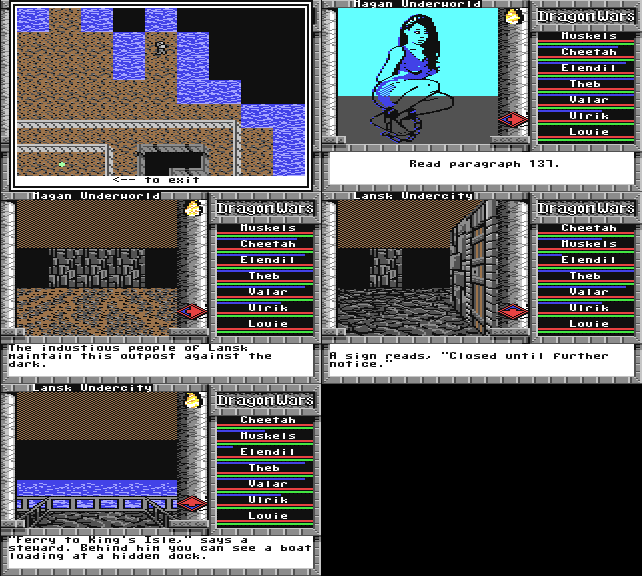
You go again to the Magan Underworld to Irkallas Realm (through the 2 doors in the north next to the Necropolis Underground.) Further to the east, there is a place where you can see an Island in the east (g). Now turn east and use the "Golden Boots" and then you are on this island , the "Isle of Woe". Irkalla appears (h) for a short time. While she is visible you need to use the silver key (use - item - silver key) to free her. She tells you about a sunken place on the Eastern Islands and asks you to get the skull of his dead son roba and bring it to the dwarf forge in the Dwarf Clan Hall. For the leave you get a "breath water potion", a flask with a content that enables you to breathe under water in the lowest level of the sunken ruins (Sunken Ruins Under). You do not need the key any more.
Now you take a closer look at the Lansk Undercity, which is only accessible from Mangan Underground (4) and whose entrance is in a hall west of Irkallas Realm. The inhabitants here are dangerous, so you should avoid as many fights as possible and save often. Therefore, it has 4 shops and a healer here. The shops for armour, weapons and the healer are at the eastern side, EZ Paperwork (Governors Pass, Kings Ticket, Citizen Papers) and the magic shop at the western side.
This magic shop (2) is closed, however, and you have to enter it through the secret door (1) in the manor. Next to "Create Wall" (which you already have), you can also buy "Wood Spirit" and the very good heal spell "Cure All". In the centre of the town there is a captured, old dragon. The way there leads through a secret door (3) and a locked door (use - skill - lockpick). When you have found him (paragraph 126) show him the Ankh (use) that you have bought in Mud Toad. For this you get a "Dragon Gem", which is needed in the Dragon Valley for the Dragon Queen. The Ankh is not needed any more.
Kings Isle Adventure part 1[edit | edit source]
The King Isle start at the Bridge of Exiles and lead over the Kingshome Dungeon and Kingshome. Here you will need some of the Dragon Eyes, which you have taken with you during the visit in Salvation. Additionally, each character should own Dragon Stones and have a free space in the inventory, so sell all not needed items, weapons, etc. beforehand.
In Mystic Wood use the Nexus to Kings Island. There you undergo a test and go to the west along the coast and then up (north). If you cannot win the following fight (2-5 goblins 10', 5 goblins 20', 4 guard goblins 90', 6 guard goblins 150'), the characters of the party need to be built up some more and you should raise Valar's Sun Magic and the Dexterity of the fighting characters.
Bridge of Exiles and Snake Pit
In the southwestern part of Kings Isle there is a bridge, the Bridge of Exiles, which is guarded by 30 goblins. The spell "Inferno" is here very effective, as the goblins consist of 2 groups. Now you can go through two doors unhampered, however, there is no way back through the doors, they are now locked. There is only the way to Snake Pit.
In Snake Pit there are no fights, but some information and treasures: (a) Pine Branch; (b) Old Man; (1) "Stone Head" (for statue in Mud Toad"); (2) "Signet Ring" (is amongst others needed to leave Snake Pit); jewels; (3) treasure (not needed). If you bring the Pine Branch to the Old Man (use the druid of the party) you get the spell "Beast Call", which you also get at the Magic College. After you have obtained "Stone Head" and "Signet Ring", you go to the building in the northeast and use the Signet Ring, do not attack the boy! Now through the secret door (5) to the landing. Now you are sailed to kingshome by an old man... where you are immediately captured (only at the first time) and brought into the Kingshome Dungeone.
Kingshome Dungeon
You have only one possibility to closely search this dungeon, as you will not get there a second time. In this dungeon there is no compass, therefore you should use the Guidance spell to display it. The own cell is the only one that is not locked. The other doors can be opened with "Lockpick". You should visit the second cell from north into the direction of east (p53) ;-), in the other cells there is nothing. Keep east as far as the wall, then north, west up to the second door. There you find the armoury (1) of Kingshome with 20 "Dragon Stones" and very good armour and weapons. "Black Helm", "Gatlin Bow", "Mage Ring", "Fire Shield" can be useful. After clearing out the armoury, you go up the stairs to Kingshome.
Kingshome
You follow the aisle to the next room. Here the first meeting with the arch villain Namtar (1) takes place abruptly. His scene is really impressive. He generously sets you free again after predicting an evil ending. You leave the room, you can only go back with the "Soften Stone" spell. In Kingshome you find nothing special except for the "Pilgrim Garb", which helps you to travel from Old Dock to Pilgrim Dock. In the following: (2) portraits of the king and the three king’s children; (3) "Pilgrims Carb"; (4) weapons, armour and other things but nothing important. The exit is in the south and the "Signet Ring" of the Snake Pit helps with the gate guards (5). You got hrough the gate, have to fight through a mixed group of enemies once again (goblins and guard goblins) and then you have finished the first part of the Kings Isle Adventure.
Kings Isle Adventure part 2[edit | edit source]
It starts in Siege Camp and leads through Byzanople and Dungeon. Here you will also need some of the Dragon Eyes, which you have picked up during the visit in Salvation. You get into the Siege Camp either when you let yourself get recruited in Phoebus or by fighting through a horde of goblins on the way heading northeast. As you are already on Kings Isle, you choose the second way.
Siege Camp
So you have joined the Kingshomer Army, which – under the leadership of Namtar and King Drake - besieges the town Byzanople for some time. But you have to go through the Siege Camp to get to Byzanople. Here you find the following: (1) "Silver Arrow"; (2) "Lance Sword", "Silver Gloves" (+3 AC); in the northeast there is a black market with weapons and armour (nothing special); in the southeast there is a healer and in the middle of the camp the commander "Buck Ironhead" (3). If you bother him twice, he sends you to the front (exit). The exit into the direction of Byzanople (4) is in the north.
Byzanople and Dungeon
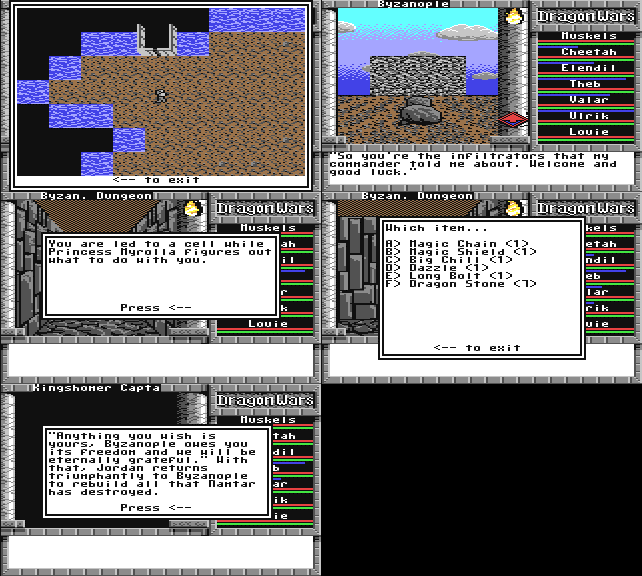
You find yourself in the defensive fortification and have to go through the Dungeon to be able to enter Byzanople (in northeast). For this there are several possibilites : Just go down the stairs at (2), go to the north as far as the wall, then "use - strength", or at (3) use "strength" until the stairs appear, down, then north as far as the wall, then once again "use - strength", or , if you want it hard, through the aisle that is shot at with arrows and through the locked doors up to (4) and there spare the "Byzanople Warriors". In all cases you will meet Princess Myrolla (a) or Prince Jordan (b) in the Byzanople Dungeon, where you first should surrender (do you surrender - yes) and are for now put into a cell. Now you just have to wait a bit (4 activities) and you are invited for a talk with Prince Jordan, where you should change fronts and ally with the defenders (do you join him - yes). Then you can search the dungeon unhurriedly and plunder the treasure chest (c). The treasure in the southwest (d) is not worth the effort, it only contains a Magic Axe.
Now you go up the stairs to Byzanople and can follow Jordan through the hidden passage to the arena in Siege Camp. There a tremendous battle follows, where the party needs to use all weapons and fight spells to win it. You get over 900 experience points after this massacre...
Now you can go back again through the secret passage to Byzanople and look around more closely. There is a healer, an armour shop and a weapon shop. The previously locked main gate is now open and the aisle in which you were shot at with arrows is now safe. Siege Camp was given up and is now empty, with this the 2nd part of the Kings Isle Adventure is done.
But you can also kill Princess Myrolla or Prince Jordan and open the main gate for Namtar‘s troups. Depending on how you act here, the further events will develop, but the best end of this sub-quest will happen, if you defeat the Kingshomer Army together with Jordan.
<< back to Dragon Wars
